Thursday, September 30, 2010

The Iron Sergeant

I've been working on a two-dimensional piece lately, the latest addition to the "Sharing the Courage" series I've been working on with Public Affairs...

This "episode" features one Jesse Leach, a Sergeant with 2nd Bn 8th Marines who showed rugged, straight-forward heroism in coming to the aid of a wounded comrade hit by a sniper whileon patrol in Karmah, Iraq.

See the great photo slide show by CJ Chivers and Joao Silva of the NY Times("SNIPER I" is the tab to click on to see the correct slide show...)

I made a story board for the project, which I will now enhance and refine by applying watercolor and gouache to it...


 More to come...

Friday, September 24, 2010

I Get A Round

After struggling to make a mortar round for the Mortar Crew sculpture-- using wax, a dremel tool and a hot knife--  I realized that I'd have to use a lathe and wood to create a round with the proper symmetry (I know now why they call it a "round" in the first place)!

So a friend of mine lent me his lathe, and with it I crafted a mortar round.  I used a diagram of an M374 81mm HE round to get the basic shape, and used digital calipers to make sure the round was shaved to 20.25 mm (1/4 scale)!


Add some fins, and he's ready to drop that round in the tube...

Next step: making that tube. Stay tuned...

Monday, September 20, 2010

"Hangin' on Three!" The Mortar Crew Sets Up

Today's Progress--

I spent some time today working on the latest sculpture: the 81mm mortar crew.

I'd done the armatures for this piece a while back, but was waiting to really start on it until I'd made more progress on the other sculptures-- the Marine Rifleman and Belleau Wood Marines.

Here are the basic mortar crew armatures:
I now had to make the heads, hands and feet for this crew, before I could know their real positions in the composition, and before I could build up their form...

For the heads, I decided that I should make a standard skull form for all three figures, and then adjust it for the individual when finishing. Here is the basic skull, with a penny put in for reference.


 "...I  knew him, Horatio!" (I'm sure this figure will be a man of infinite jest at well..)
 
 The feet, hands and skull for a figure:


The 'half-heads' I made on the assembly line (I guess you could call it a head shop)--
Then they were ready to assemble and attach to the wire skeletal armatures below...
Here is the crew, with the Assistant Gunner the only one yet with hands and feet... soon he'll have a mortar to drop a round  in...

Sunday, September 19, 2010

The Nuts and Bolts of Sockfeet and Chauchats

I made more progress on the Chauchat, carving the front "nozzle" at the business end of the weapon:

I also created a all-in-one template in 1/4 scale, for hands and feet, putting all my one-quarter scale templates onto one template, including the sock and boot sizes. It's like a little assembly line-- a one-stop armature sweat shop!

Saturday, September 18, 2010

The Bayonet is Honed...

Today, I spent some time working on the bayonet (I know it's Saturday, but I'm "in the zone"...)

I started with the stick from a corn dog my son had eaten (or maybe it was mine-- I love corn dogs!):

I then used my Dremmel and some small tools to "sharpen" the blade, form the handle, and carve the bloodgroove:

I added wire to form the armature for the bayonet's crossguard:
 
The bayonet and rifle come together. Now all that's needed is the wax details on the pommel, handle, and crossguard:

Next up-- the sling! Here's a basic balsa wood stand-in, which shows how it may ultimately look:


Footy Prints in the Studio

I thought I'd show you the templates I made with which to create the feet (and soon the boot soles) of the sculpture figures I've been working on...

To make the skeletal feet, I traced and simplified images of feet bones I found:


To get the basic feet size with skin (and socks) on, I actually traced my own sock foot onto paper, and then photocopied it down to 25%!  I did the same for my boots... now, I know that the figures in all my sculptures will have around size ten feet!

Sculpture is really where I put my foot down...

Friday, September 17, 2010

Fix Bayonets!

This week has been a good sculpture week, as I made progress on the Belleau Wood Marines as well as the The Marine Rifleman...

Yesterday and today I used the plaster cloth to give rigidity to the figures-- I'd been having problems with the armature limbs sagging and cracking at the knees and hips.  I will use wax to complete it, which should alleviate the problem (I've decided that in the future, I will not use Plasticine clay at all, as wax can do all that I need, and will keep its form better without slumping or being easily smirched)...

 It looks like they're wearing "long johns" or WWI-era swim trunks!
And then comes the command, "FIX BAYONETS!"  and he does so...
(I used the stick from a corn dog my son was eating for the armature of the M1905 bayonet...)

"Walking Man" goes on Patrol

Things are cruising along at flank speed, as the sculpture, "The Rifleman" takes shape:

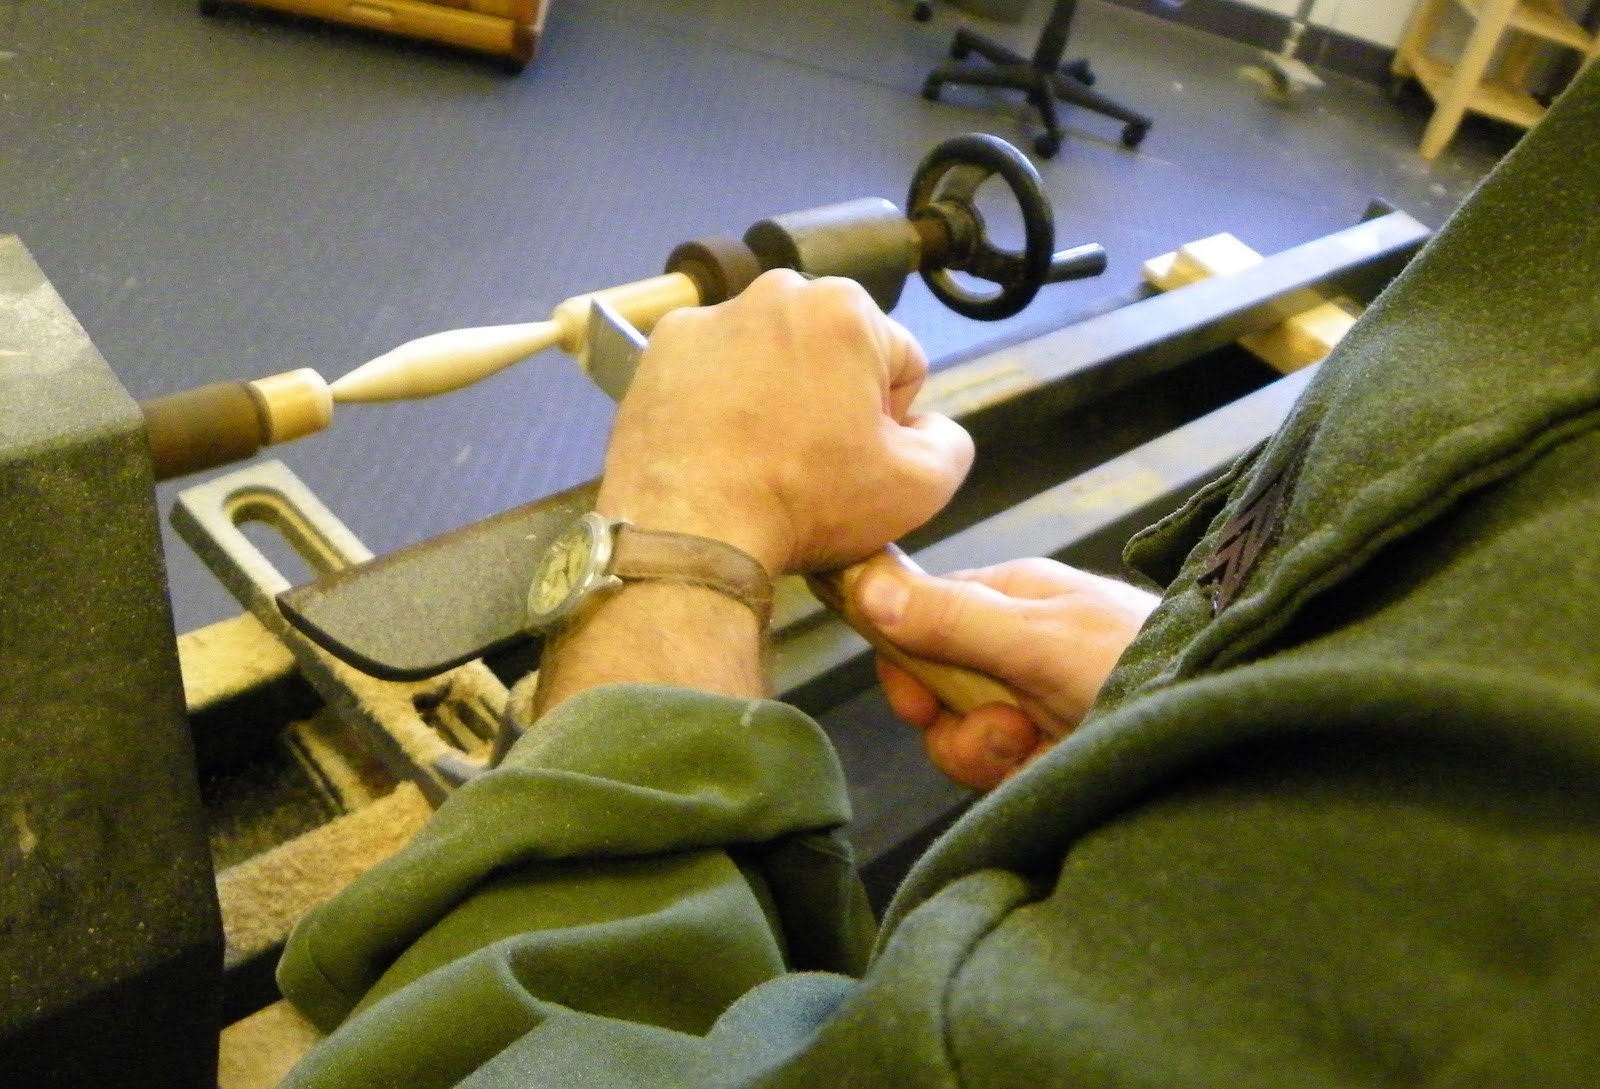
I shaped the hands using a template I made for it:
 "Look, Ma... two hands!"
I also made feet armatures to one-quarter life size, and put them on the armature ankles...
front view...
going on... I added wire to the chest and shoulders, as well as the torso-- down through the pelvis into the upper legs:
 
I joined the wires together in the legs, and they run along the path of the muscles:
Front view of added wires...
 "Wait! Wait! I'm not in the car yet!"
 I started coating the head with wax...

Adding wax onto the legs...
and the torso...(he still looks like a Giacometti sculpture, but soon he'll look more like a Remington!
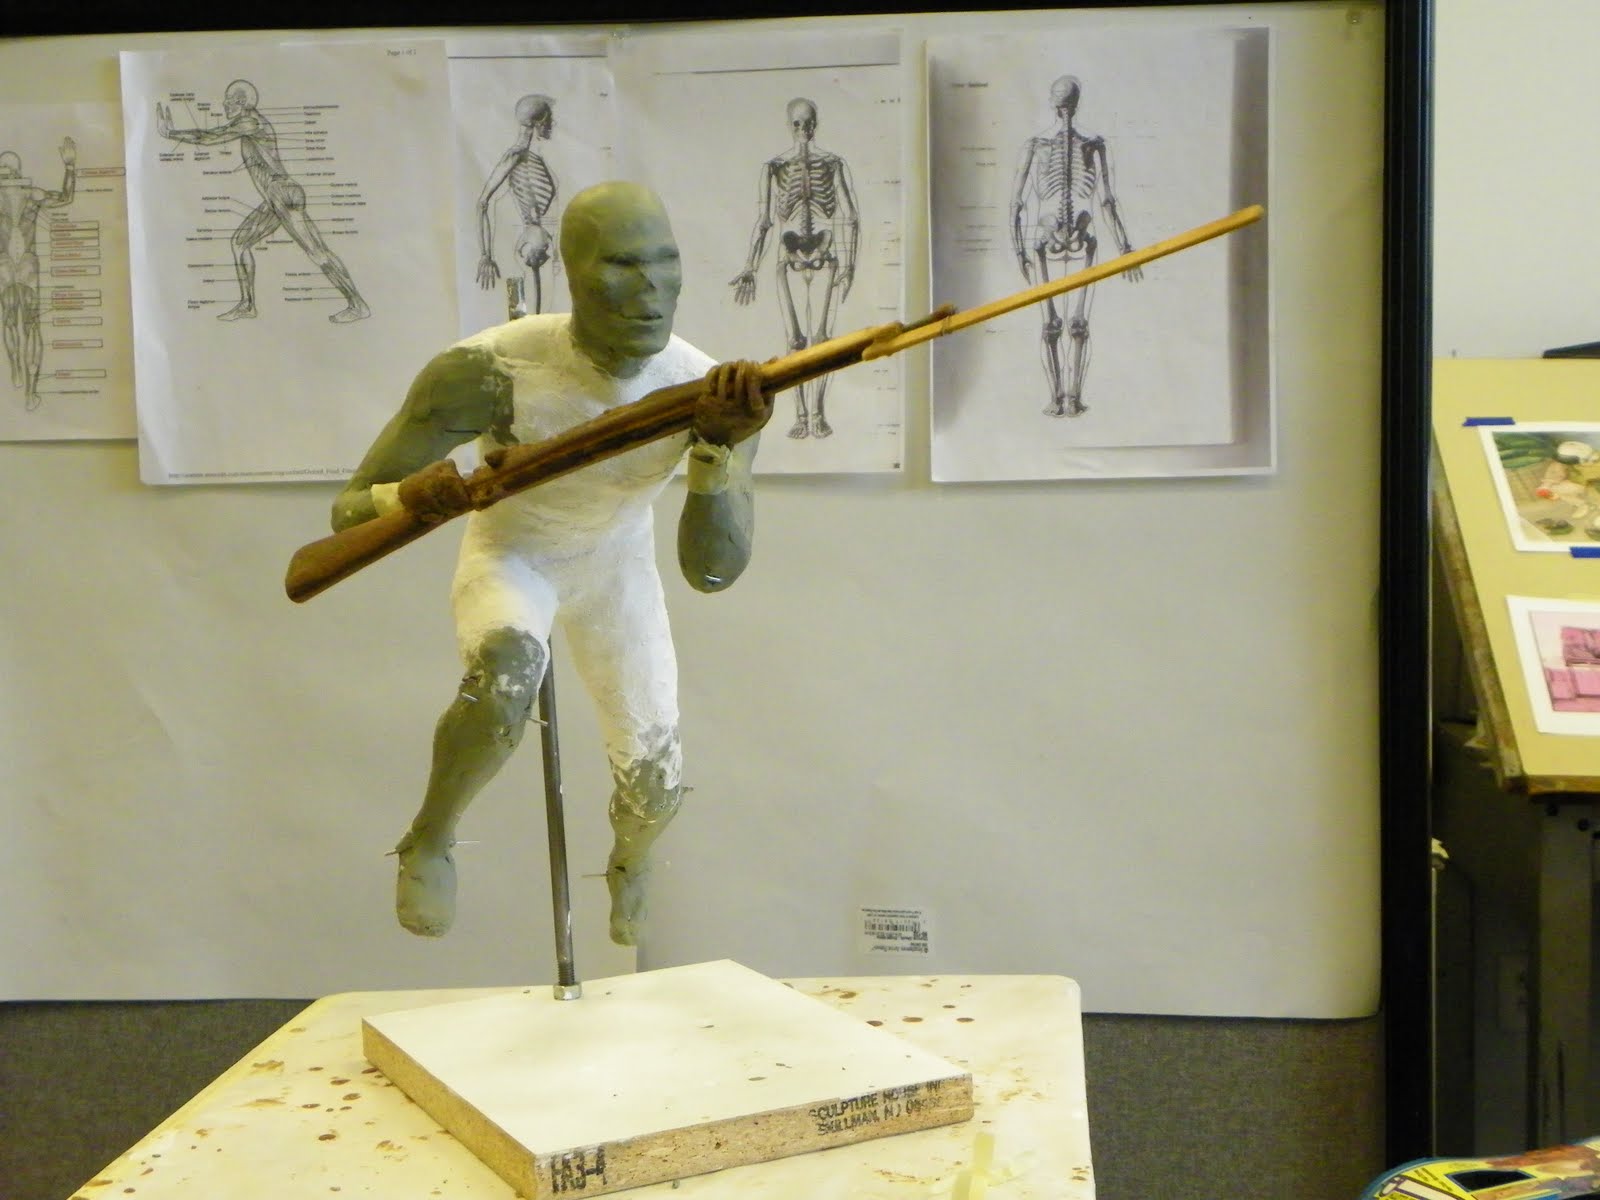
In order to know exactly how the arms will lay as the figure carries his weapon,  I needed to come up with the proper sized template/armature for his M16A4, which I began to form with balsa wood:
Once I know the size of the pistol grips and hand guards, I can form the hands in place, as well as the arms themselves...  suddenly the figure looks like he's on patrol!

Tuesday, September 14, 2010

Building the "Battle Bowler"

Some time ago, I  made a mold for the WWI "doughboy" helmets, to fit the Marines' heads in the Belleau Wood sculpture. This mold made a good impression of the outside of the helmet, but ultimately I needed a  helmet with an interior-- much more like its counterpart in the real world, with room for the head and harness, etc..

In order to do this, I had to create a plug, or core, that would allow wax to come in and form the "metal" of the helmet, while at the same time maintaining the empty space within the helmet also-- thus creating a thin wax helmet which looks like the real thing.

I used an even  layer of clay to form a stand-in for the helmet itself, and then poured wax into the empty space to create the core:

I removed the clay piece and set the core back in place--

After pouring wax down in between the cracks and letting it cool, out came the helmet form...
I had to adjust this process several times, reforming and repouring the helmet core, so that the "brim"of the helmet became more fine-tuned and didn't require a lot of carving out when taken out of the mold.

By the end of the day, I had a workable helmet form.