Sunday, October 17, 2010

The Iron Sergeant Advances

Working more on the "Sharing the Courage" series, #3: 
"The Iron Sergeant, Jesse Leach"

I've begun to color in the scenes from the storyboard...
The sequence where Sgt Leach has grabbed a wounded Marine and drags him to cover:
 Sgt Leach provides first aid to his Marine, while the Quick Reaction Force is called...


This was a dramatic event which happened in Iraq, to those Marines involved especially. Yet it showcases the type of day-to-day heroism that typifies Marines in combat--  the kind of thing that people back home need to know more about. That's why we are doing this series.

More to come this week... stay tuned!

I Get a Round, Again

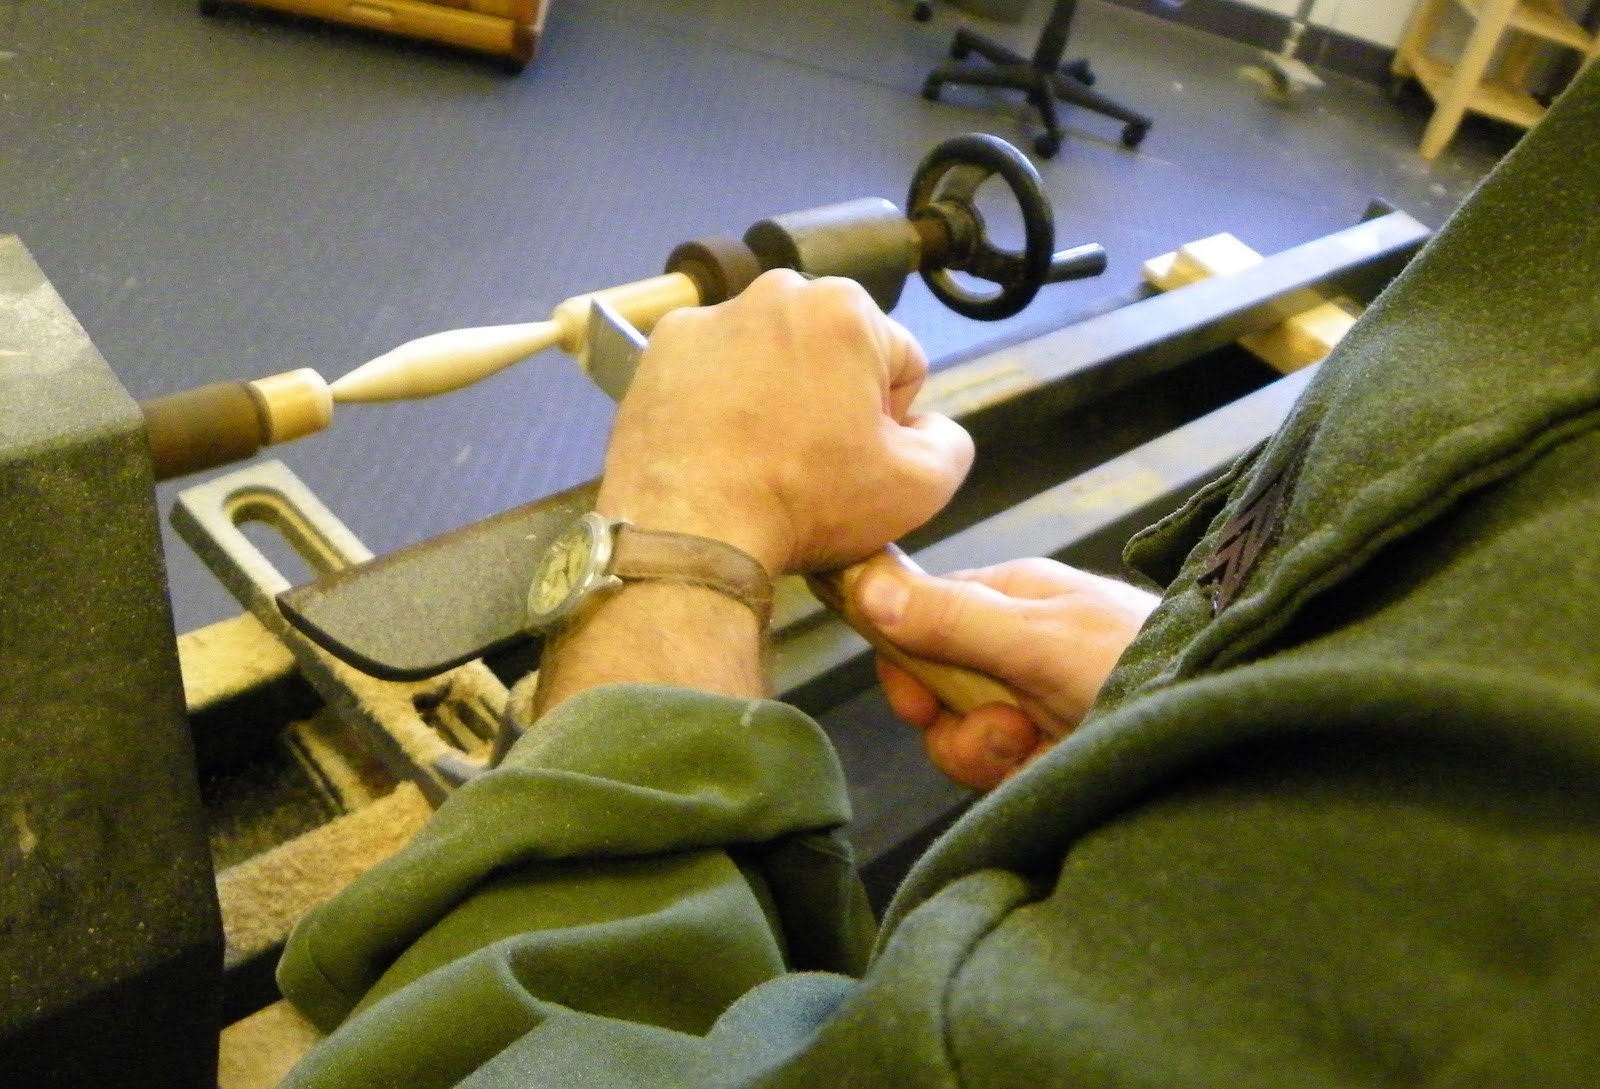
I worked on the lathe again the other day, to craft a better miniature 81 mm mortar round:
Then I added the tail section, sans fins...

Tuesday, October 12, 2010

Casting the Clay "Kevlar"

Layin'  on the Latex--
As I mentioned in the previous post, I have built a 1/4-scale "Kevlar" helmet in clay, from which to cast as many helmets as I need for future sculptures of helmeted Marines.

I used latex rubber casting material to begin the mold making for my miniature helmet...
The Latex goes on an opaque, off-white color

First Coat-- the latex dries translucent yellow-tan...
Third Layer...
Sixth Layer... almost there...
Next Step: embedding it in a two-part plaster mold...

Clay Pot

 
I've been working on The Marine Rifleman lately, and began work on the Kevlar helmet in 1/4 Scale.  This was delicate work, and required a lot of shaping, squinting, smoothing, comparing, cutting, molding, etc. to get it to a workable likeness.

I made the basic "kevlar" out of modeling clay, and plan to use this mini helmet as a template, making a latex mold of it, for replicating the other helmets for the Mortar Crew sculpture I'm working on.

The helmet itself is quite a complex form, with subtle angles and curves. It's not like the "doughboy" helmet of WWI, or even the steel pot of WWII, which were basic ovals and curves. You can almost tell it was designed in a computer (I'll have to research that)!
 
Here is the helmet, as it looks before casting:
 

Building up the Uniform and "Flak"
 I also began the construction of the uniform and "flak jacket" also, with "broad brushstrokes" of wax:
 

Next I will use a heat gun and tool to smooth out the rough edges, refine the form, adding folds and wrinkles...

Thursday, September 30, 2010

The Iron Sergeant

I've been working on a two-dimensional piece lately, the latest addition to the "Sharing the Courage" series I've been working on with Public Affairs...

This "episode" features one Jesse Leach, a Sergeant with 2nd Bn 8th Marines who showed rugged, straight-forward heroism in coming to the aid of a wounded comrade hit by a sniper whileon patrol in Karmah, Iraq.

See the great photo slide show by CJ Chivers and Joao Silva of the NY Times("SNIPER I" is the tab to click on to see the correct slide show...)

I made a story board for the project, which I will now enhance and refine by applying watercolor and gouache to it...


 More to come...

Friday, September 24, 2010

I Get A Round

After struggling to make a mortar round for the Mortar Crew sculpture-- using wax, a dremel tool and a hot knife--  I realized that I'd have to use a lathe and wood to create a round with the proper symmetry (I know now why they call it a "round" in the first place)!

So a friend of mine lent me his lathe, and with it I crafted a mortar round.  I used a diagram of an M374 81mm HE round to get the basic shape, and used digital calipers to make sure the round was shaved to 20.25 mm (1/4 scale)!


Add some fins, and he's ready to drop that round in the tube...

Next step: making that tube. Stay tuned...

Monday, September 20, 2010

"Hangin' on Three!" The Mortar Crew Sets Up

Today's Progress--

I spent some time today working on the latest sculpture: the 81mm mortar crew.

I'd done the armatures for this piece a while back, but was waiting to really start on it until I'd made more progress on the other sculptures-- the Marine Rifleman and Belleau Wood Marines.

Here are the basic mortar crew armatures:
I now had to make the heads, hands and feet for this crew, before I could know their real positions in the composition, and before I could build up their form...

For the heads, I decided that I should make a standard skull form for all three figures, and then adjust it for the individual when finishing. Here is the basic skull, with a penny put in for reference.


 "...I  knew him, Horatio!" (I'm sure this figure will be a man of infinite jest at well..)
 
 The feet, hands and skull for a figure:


The 'half-heads' I made on the assembly line (I guess you could call it a head shop)--
Then they were ready to assemble and attach to the wire skeletal armatures below...
Here is the crew, with the Assistant Gunner the only one yet with hands and feet... soon he'll have a mortar to drop a round  in...

Sunday, September 19, 2010

The Nuts and Bolts of Sockfeet and Chauchats

I made more progress on the Chauchat, carving the front "nozzle" at the business end of the weapon:

I also created a all-in-one template in 1/4 scale, for hands and feet, putting all my one-quarter scale templates onto one template, including the sock and boot sizes. It's like a little assembly line-- a one-stop armature sweat shop!

Saturday, September 18, 2010

The Bayonet is Honed...

Today, I spent some time working on the bayonet (I know it's Saturday, but I'm "in the zone"...)

I started with the stick from a corn dog my son had eaten (or maybe it was mine-- I love corn dogs!):

I then used my Dremmel and some small tools to "sharpen" the blade, form the handle, and carve the bloodgroove:

I added wire to form the armature for the bayonet's crossguard:
 
The bayonet and rifle come together. Now all that's needed is the wax details on the pommel, handle, and crossguard:

Next up-- the sling! Here's a basic balsa wood stand-in, which shows how it may ultimately look:


Footy Prints in the Studio

I thought I'd show you the templates I made with which to create the feet (and soon the boot soles) of the sculpture figures I've been working on...

To make the skeletal feet, I traced and simplified images of feet bones I found:


To get the basic feet size with skin (and socks) on, I actually traced my own sock foot onto paper, and then photocopied it down to 25%!  I did the same for my boots... now, I know that the figures in all my sculptures will have around size ten feet!

Sculpture is really where I put my foot down...